DIY Node.js Continuous Deployment with PM2 & Github Actions

I've recently fallen back in love with node.js applications.
No, really. I know it sounds insane. Node.js has gotten a bad rap over the years, and rightfully so. It takes thousands of lines of code (via npm modules) just to get to hello world.
Despite the bloat & the drawbacks, I still find them stupidly simple and seriously easy to spin up. Express applications are still my go-to when looking to build a quick, easy, and scalable API.
When building my latest node.js express application, I ran into a little bit of a roadblock. I was building a REST API for a client's website, and needed a way to test the almost-finished API without exposing my IP address as an endpoint.
The painstaking work of downloading and uploading code to my aws EC2 server was starting to weigh thin on me. Surely there had to be another way!
At that moment, I had an idea: why not use my Github repository, to which I was already committing, to deploy directly to my AWS instance?
This method is a quick, simple, and easy way to convert that Github repository into a makeshift continuous deployment program.
Step 0: Prerequisites
This guide will attempt to be as verbose and detailed as possible. However, to "level the playing field", we are going to have to make some basic assumptions:
- Development environment: for this guide I am using macOS 13 (Ventura) with Visual Studio Code as my IDE/editor. You'll need all the basics, like npm, git, etc.
- SSH. I try to outline what you'll need to do in order to complete this project, but we make the assumption that you have basic SSH knowledge. Here's a great guide to get started.
- Server. I'm using AWS EC2 running ubuntu (latest). Other flavors and hosting services will likely work with slight modifications to this guide, but your mileage may vary.
Step 1: Initializing the Express Application
For the purposes of this tutorial, we will be building a basic express application that outputs a simple welcome message. You can theoretically create any node.js application, however the emphasis of this tutorial will be on the environment, not the program itself. (Remember to KISS yourself...keep it simple, stupid!)
Start by opening a terminal window, and building a very basic express application. I'm using npx in this tutorial. You can also install the generator via npm and run it that way (but...why do extra keystrokes?).
If you don't have Node.js, you can download it from their website.
cd <<development folder>>
npx express-generator
npm install
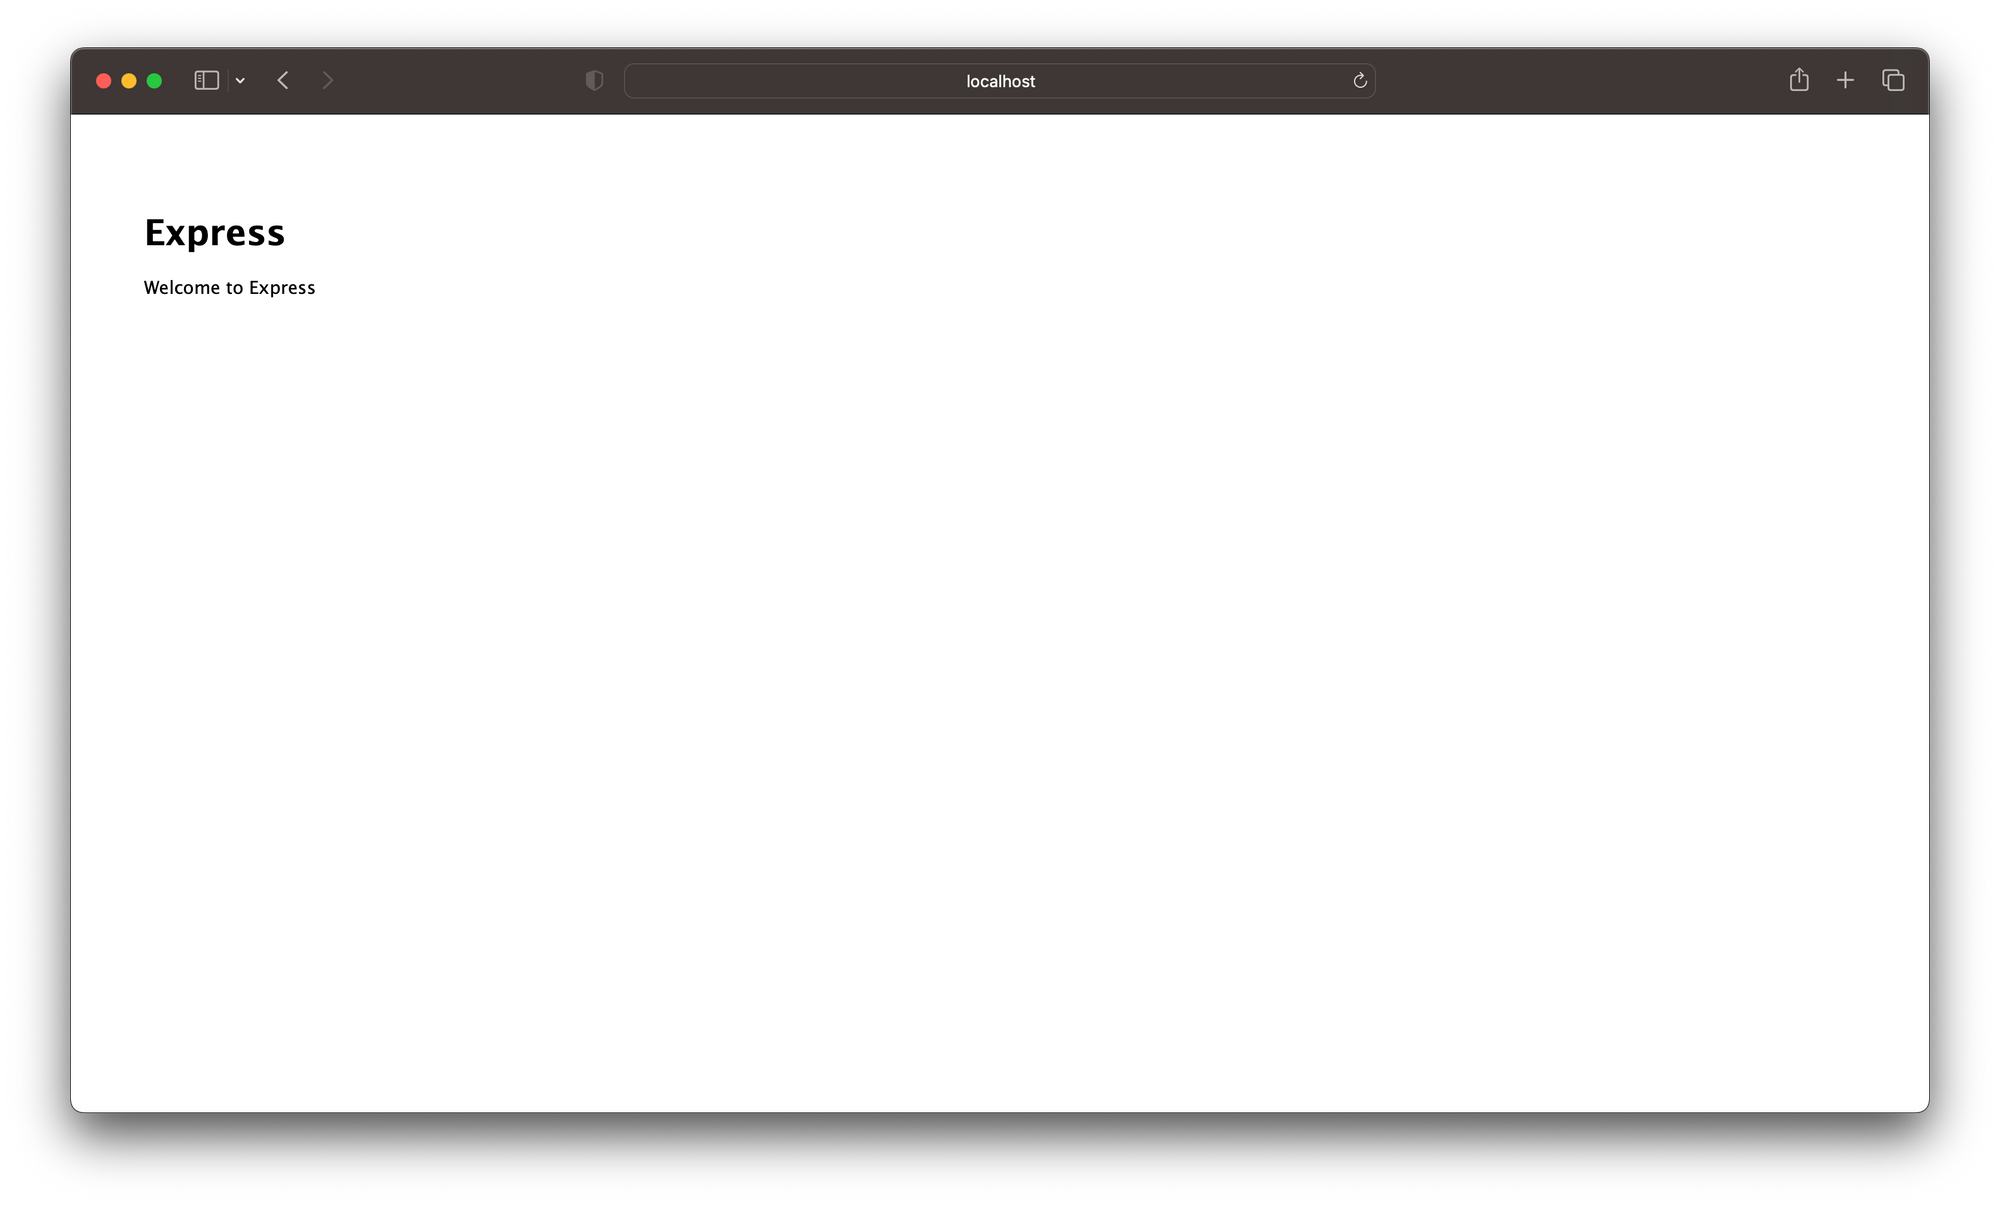
npm startUsing your browser, navigate to http://localhost:3000 . You should see a very plain screen welcoming you to Express.
Great! Pour yourself a drink and congratulate yourself for a hard days work. You've just done more than the average Meta engineer does in a week!
Looking to stop the server? Use control C.
Step 2: Setting up Github and SSH
Next we will have to create and initialize our Github repository, uploading our code to Github.
If you've used Github before and you are familiar with git, this section will seem a little bit repetitive for you. If you're new to the world of git, the commands may seem foreign.
If you find yourself somewhere in the middle of those two extremes, congratulations. You're a software engineer.
Make sure git is installed on your mac by running:
git --versionIf you don't have git installed, macOS will prompt you by installing XCode Command Line Tools.
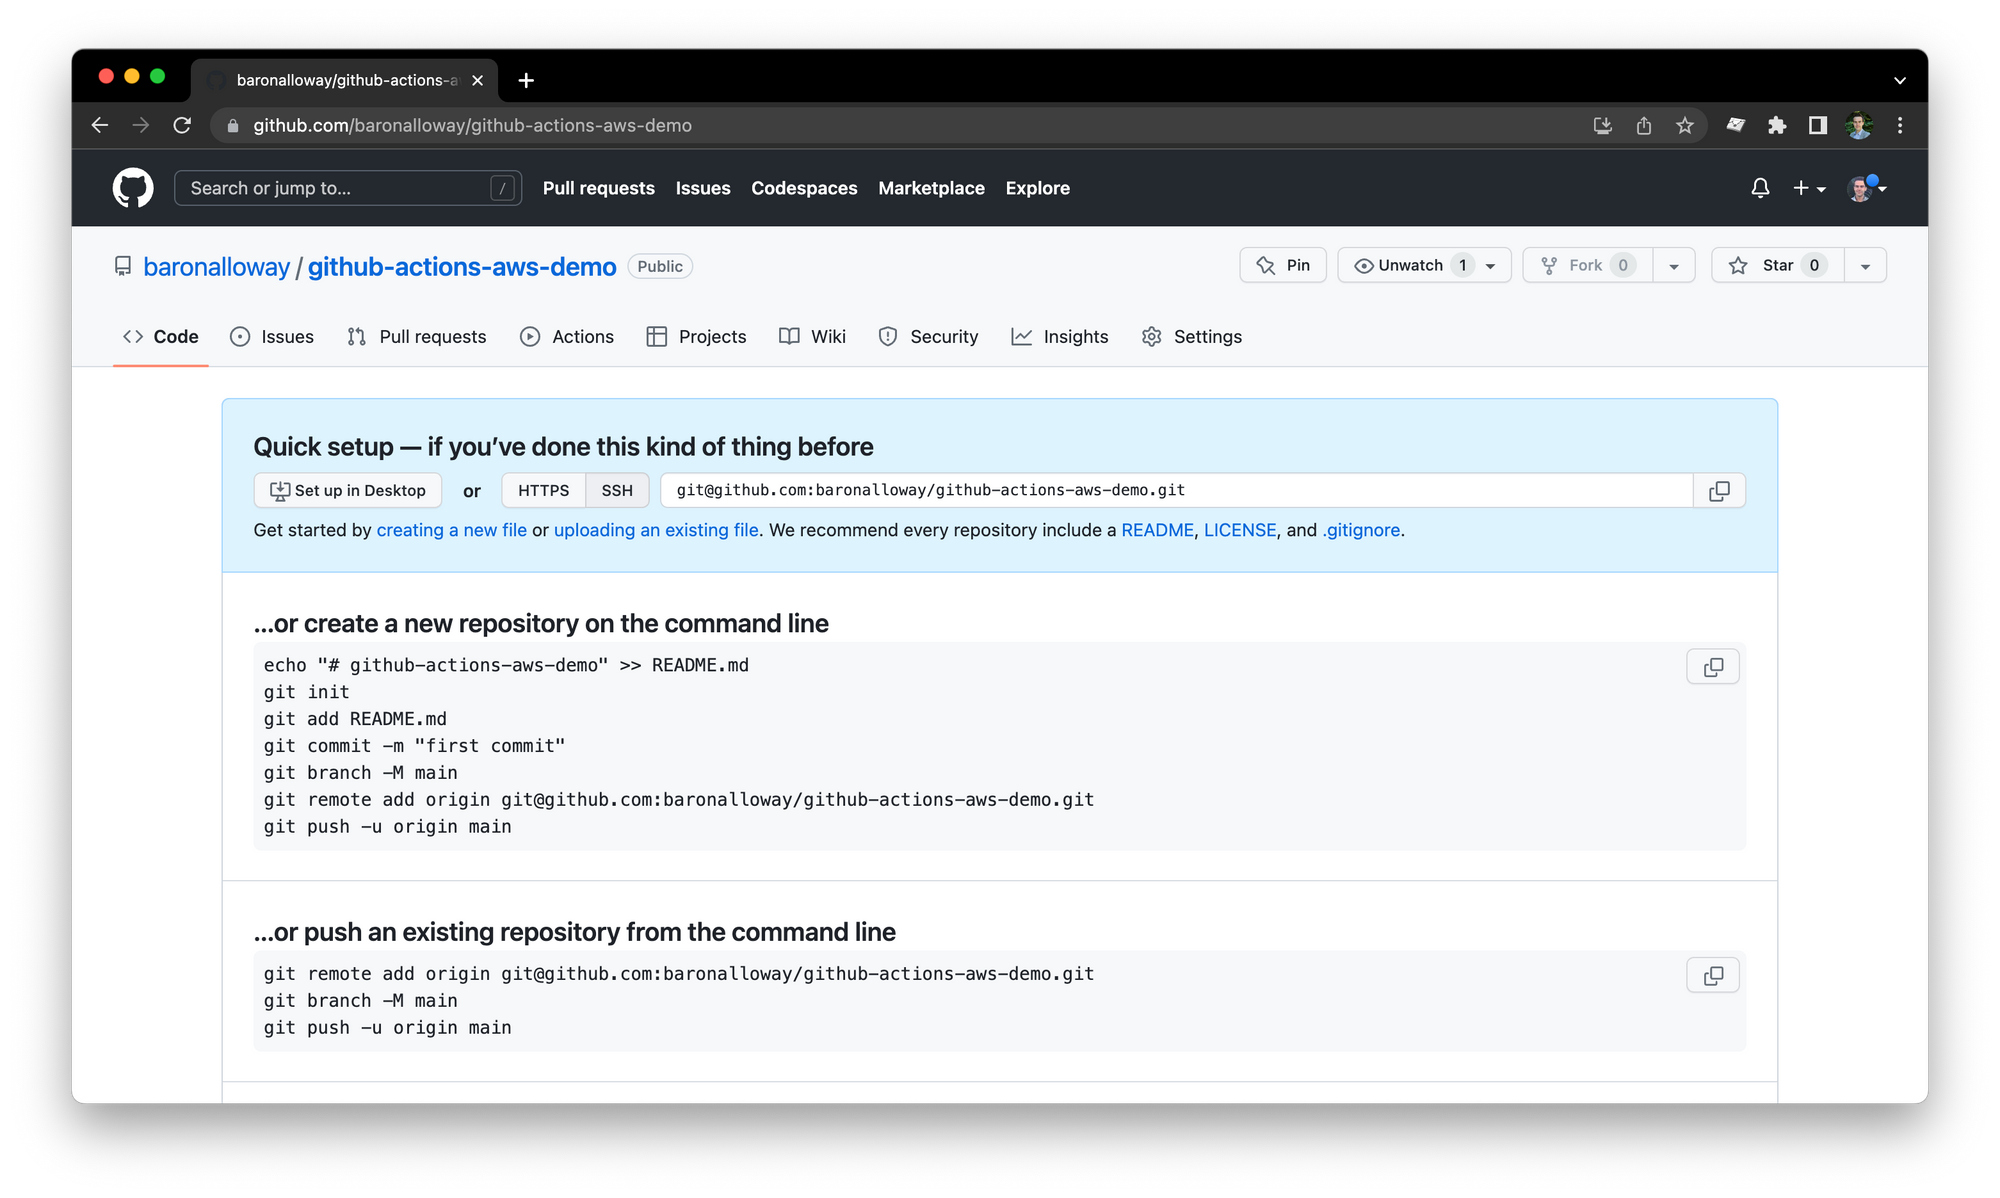
Next, initialize an empty repository, and add the 'origin' (read: remote server)
git init
git remote add origin <<URL of github repository>>
So far so good, but for the beginner it gets tricky. Github no longer allows basic authentication methods, but requires you to have a ssh key to push code from the command line. You can also push via the Github Desktop App, but for the purposes of this tutorial we will stick to command line tools only.
SSH stands for 'secure shell', basically meaning a secure remote connection. Authentication works not unlike a lock and key mechanism.
The "public key" is effectively the lock. This key is shared publicly and basically presented to a user when they want to log in via SSH. The "private key" is kept on the users device.
Using the information in the public key, the user can submit their private key in a way that 'fits', similar to a lock and key mechanism. Everyone can see the lock, but only those with the key can get the cylinder to engage.
If you've never used Github before, you probably don't have a ssh key-pair. Luckily, there are tools in command line that let us create them!
In macOS, all ssh key pairs are stored in the ~/.ssh folder, which is hidden by default from finder. Before starting, I'd recommend navigating to that folder. Also open it in the finder too, by using Command Shift G.
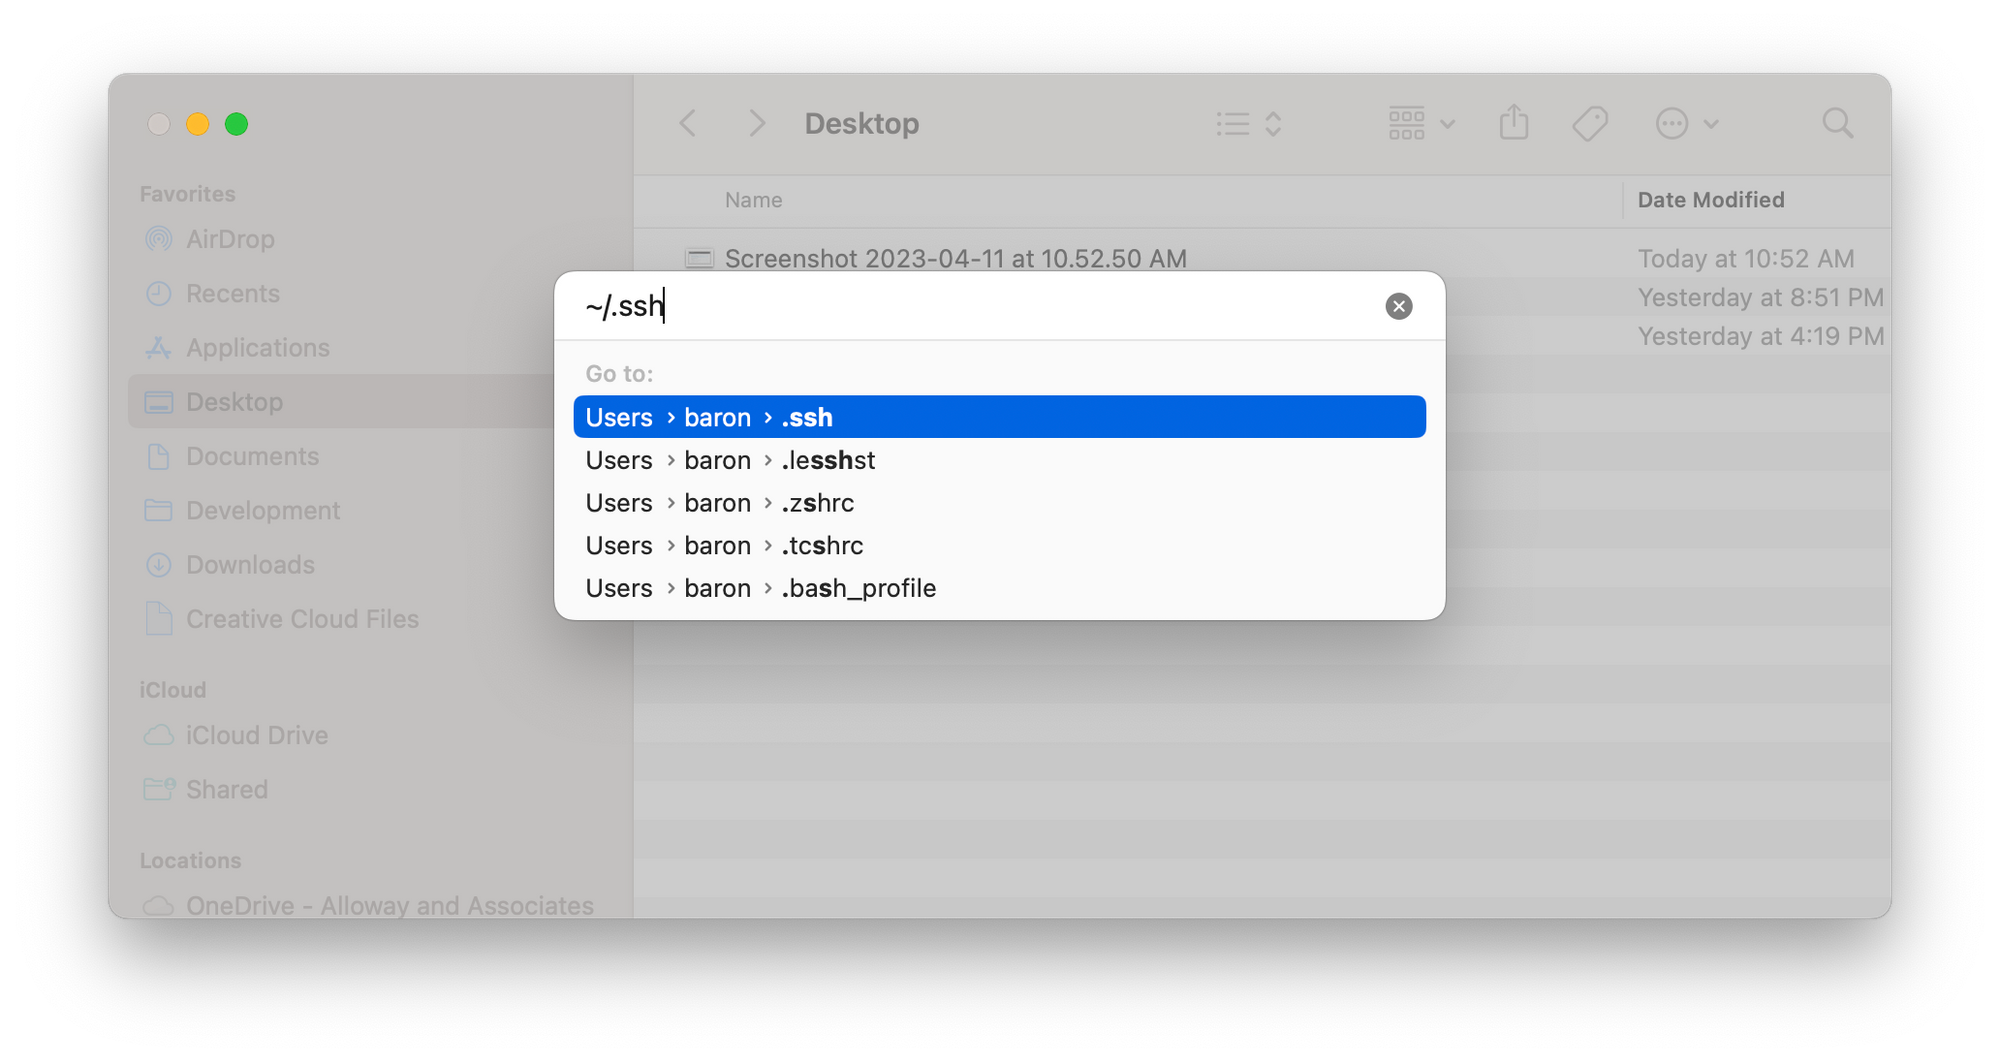
cd ~/.sshDepending on what you've done on your computer, you may or may not have keys already in this folder. If the folder doesn't exist, you'll have to create it on your system.
mkdir ~/.ssh
cd ~/.ssh
Once inside your ssh folder, you'll have to create a key pair
A (Brief) note on Public Key Authentication
If you're new to SSH, the idea of public key authentication may seem confusing. However, there are plenty of analogies and illustrations to help you understand.
Basically, SSH authentication consists of two keys, a public key and a private key.
Think of the public key as the lock on your house. Everyone in the world can walk up to your front door, inspect your lock. Some eager intruders may have a key or keys that they'd insert into your lock. However, without your house key, the cylinder on the lock will not engage and the door will not open.
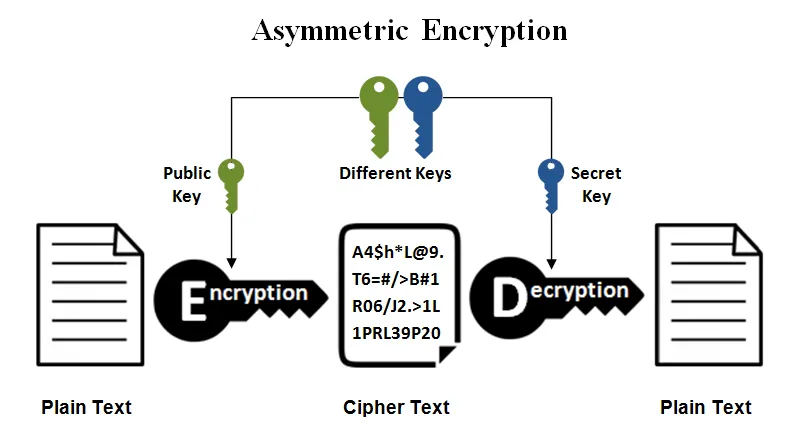
Public Key Authentication is a very similar concept. A public key exists, usually on a server or endpoint, and authenticated users provide a private key that fits perfectly inside the public key to provide access. Public key authentication processes are asymmetric, meaning that the key used to encrypt the data is not the same as the key to decrypt the information.
Back to our SSH issue, without a public and a private key, github will not let you send the code that we have put into our express folder to the public repository.
Luckily, your computer comes with tools that can create keys for you. To do this, simply type the following into your command line:
ssh-keygen -t rsaWe are using the ssh-keygen command to request an RSA key be prepared by our computer. Follow the wizard by answering the following prompts.
Enter file in which to save the key (/Users/baron/.ssh/id_rsa):It's reccomended you save this file in the .ssh folder for safe keeping. Here, you can type the name of the key or you can leave it blank for the default name.
Enter passphrase (empty for no passphrase):Enter a passphrase if you'd like to make the key more secure. For demonstration purposes, we will not be using a passphrase.
After these prompts, you should see a success message similar to the following. The box of the art will contain some randomly placed punctuation characters.
Your public key has been saved in /Users/baron/.ssh/id_rsa.pub
The key fingerprint is:
SHA256:<<RANDOM STRING OF CHARACTERS>>
The key's random image is:
+---[RSA 3072]----+
|                 |
|                 |
|                 |
|                 |
|                 |
|                 |
|                 |
|                 |
|                 |
+----[SHA256]-----+
Congratulations! Now you've created a public and private key pair for use inside of github. In order to activate the key pair, we must submit the public portion of the key to github.
In your SSH Folder, you will see two files that have been created
- id_rsa
- id_rsa.pub
As you'd imagine, the .pub is the public key file. Open it in Textedit or a similar text management program. It will contain a random string of characters.
COPY the entire contents of the file. Go into your github settings --> SSH keys and create a new key. Give it a memorable name and paste the contents of the public key file.
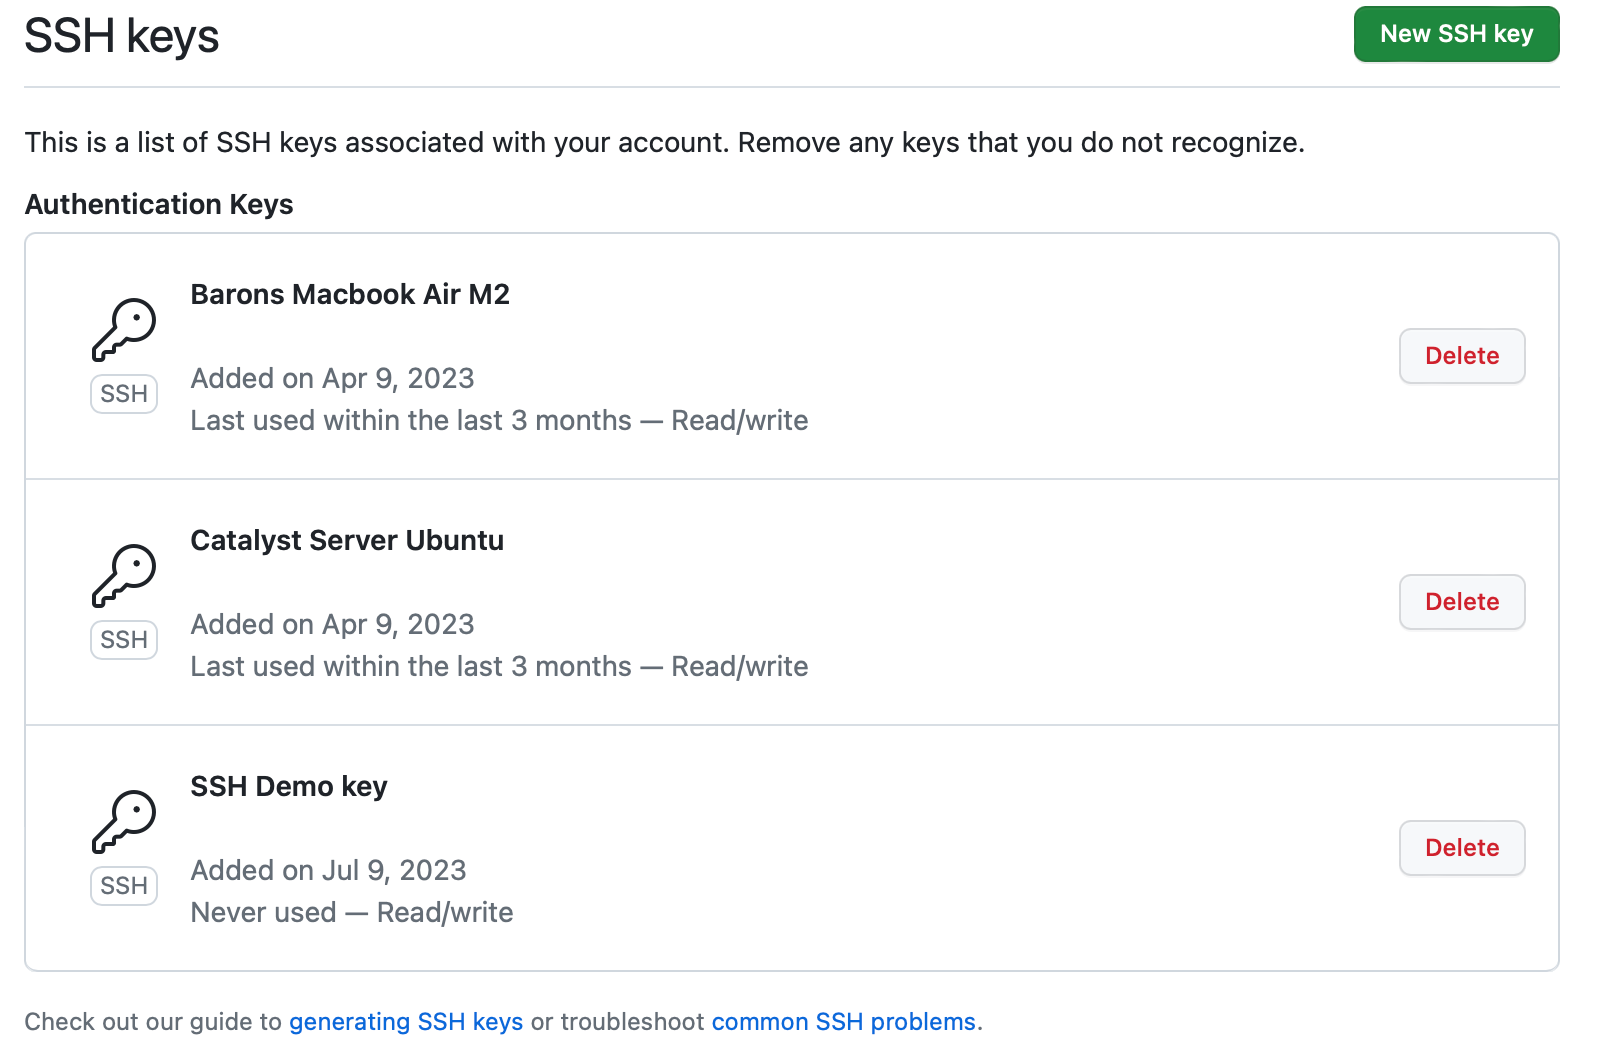
Congratulations! You have set up a ssh key and added it to github. To commit the files, navigate back to your github folder that we previously completed.
cd <<Development folder>>
git add -A
git commit -m "first commit"
git push -u origin main -i ~/.ssh/id_rsa
We just completed a few tasks with those lines of code:
- Added all available files to our next Git Commit
- Committed them with the message 'first commit'
- Pushed our branch to the origin (remote) and told it to log in with the SSH key we created
If you need help understanding git, check out this article for the best places to learn git in 2023.
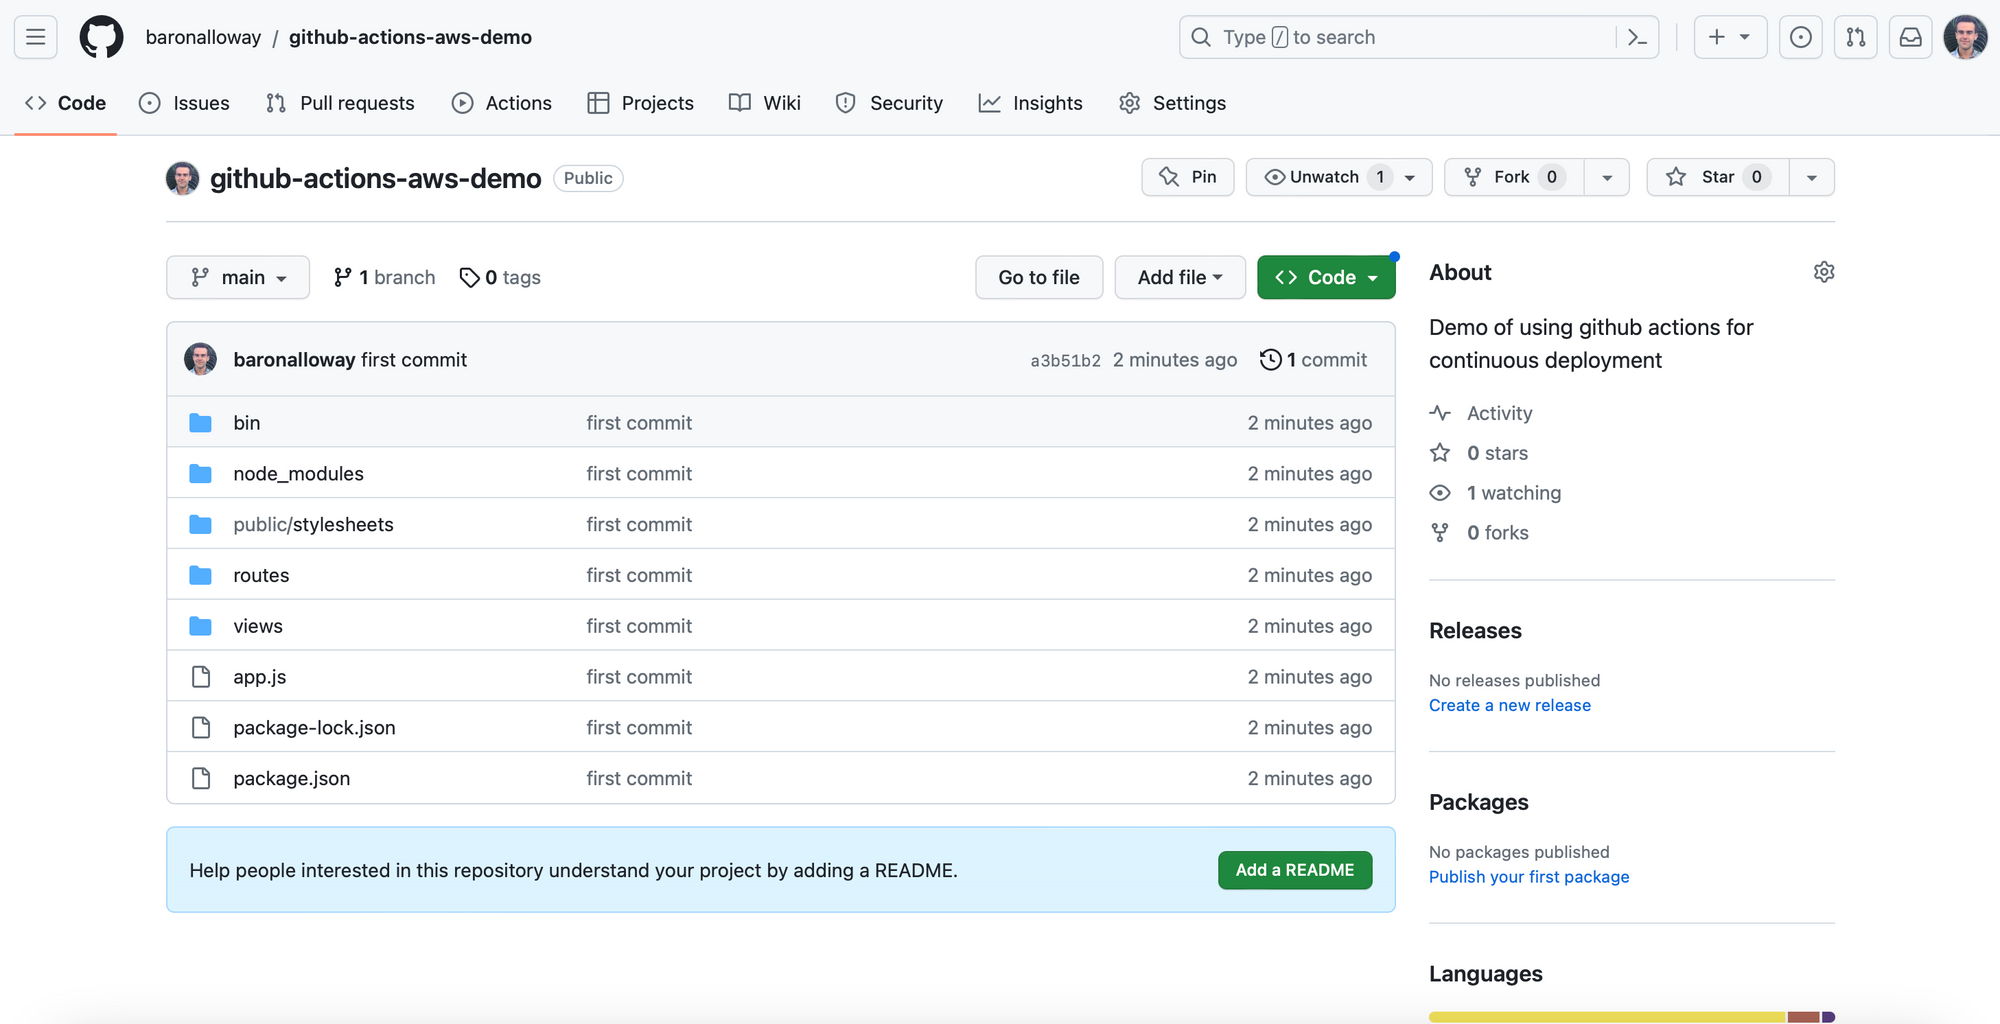
Congratulations! If you have done it correctly, you should see the files from the express server creation in github!
Step 3: Creation of Server and Connection to Github
Now that we have our code created and pushed to Github, we have to create our web server and configure the code to automatically push to the server.
For the purposes of this tutorial, we will be using an EC2 Server on AWS. EC2 servers are great for their low operating cost, ease of use, and easy connection with all other Amazon Web Services.
DigitalOcean also provides low-cost server hosting solutions, if you're looking for an alternative.
Creation of Amazon Web Services EC2 Server
In your AWS control panel, initialize a new EC2 instance. This may vary depending on your region, and is outside the scope of this tutorial. If you need help check out this article by Rahul Gupta.
For the purposes of this article, we will chooose an ubuntu distribution. AWS creates and uses key-pairs for SSH access to its EC2 instances. If you don't have a key-pair set up, follow the prompts to create one. Make sure to download your private key as you will need this to authenticate into AWS.
Once set up, SSH into your new instance. Using the public IPV4 DNS (ec2-IP-ADDRESS-.compute-1.amazonaws.com) will ensure that you do not attempt to SSH to a different server if your IP changes.
Make sure to change the permissions of your key file so that only you can access it. This is now mandatory when using SSH in linux.
sudo chmod 600 <<Path to private key>>.pem
ssh =i "<<path to private key>>.pem ubuntu@<<IPV4 DNS of EC2 instance>>
Elastic IPs are an option if you want your instance to have a permanent static IP. However, they go beyond the scope of this article.
Once logged in, run the following commands to make sure that your apt is up to date. Then install npm, n, and pm2 globally on the machine.
sudo apt-get update
sudo apt install npm
sudo apt-get install n
sudo n latest
node -v
npm install pm2 -g
Pm2 is a process monitor used to start and keep node projects running. It is an incredibly complex piece of software who's functionality far exceeds what we need for this application. The "-g" denotes Global installation on our machine, not just for a specific proejct.
4. Configuration of Github Actions
Next we have to configure github actions to push to our node server. My thanks to this medium article for the help.
create a folder called .github in your project directory. Create a 'workflows' folder and make a new yml deployment folder, we will call it 'deploy.yaml'. Copy the contents of the following content into the file:
name: Deploying
on:
push:
branches:
- main
jobs:
deploy:
name: Deploy
runs-on: ubuntu-latest
steps:
- name: executing remote ssh commands using ssh key
uses: appleboy/ssh-action@master
with:
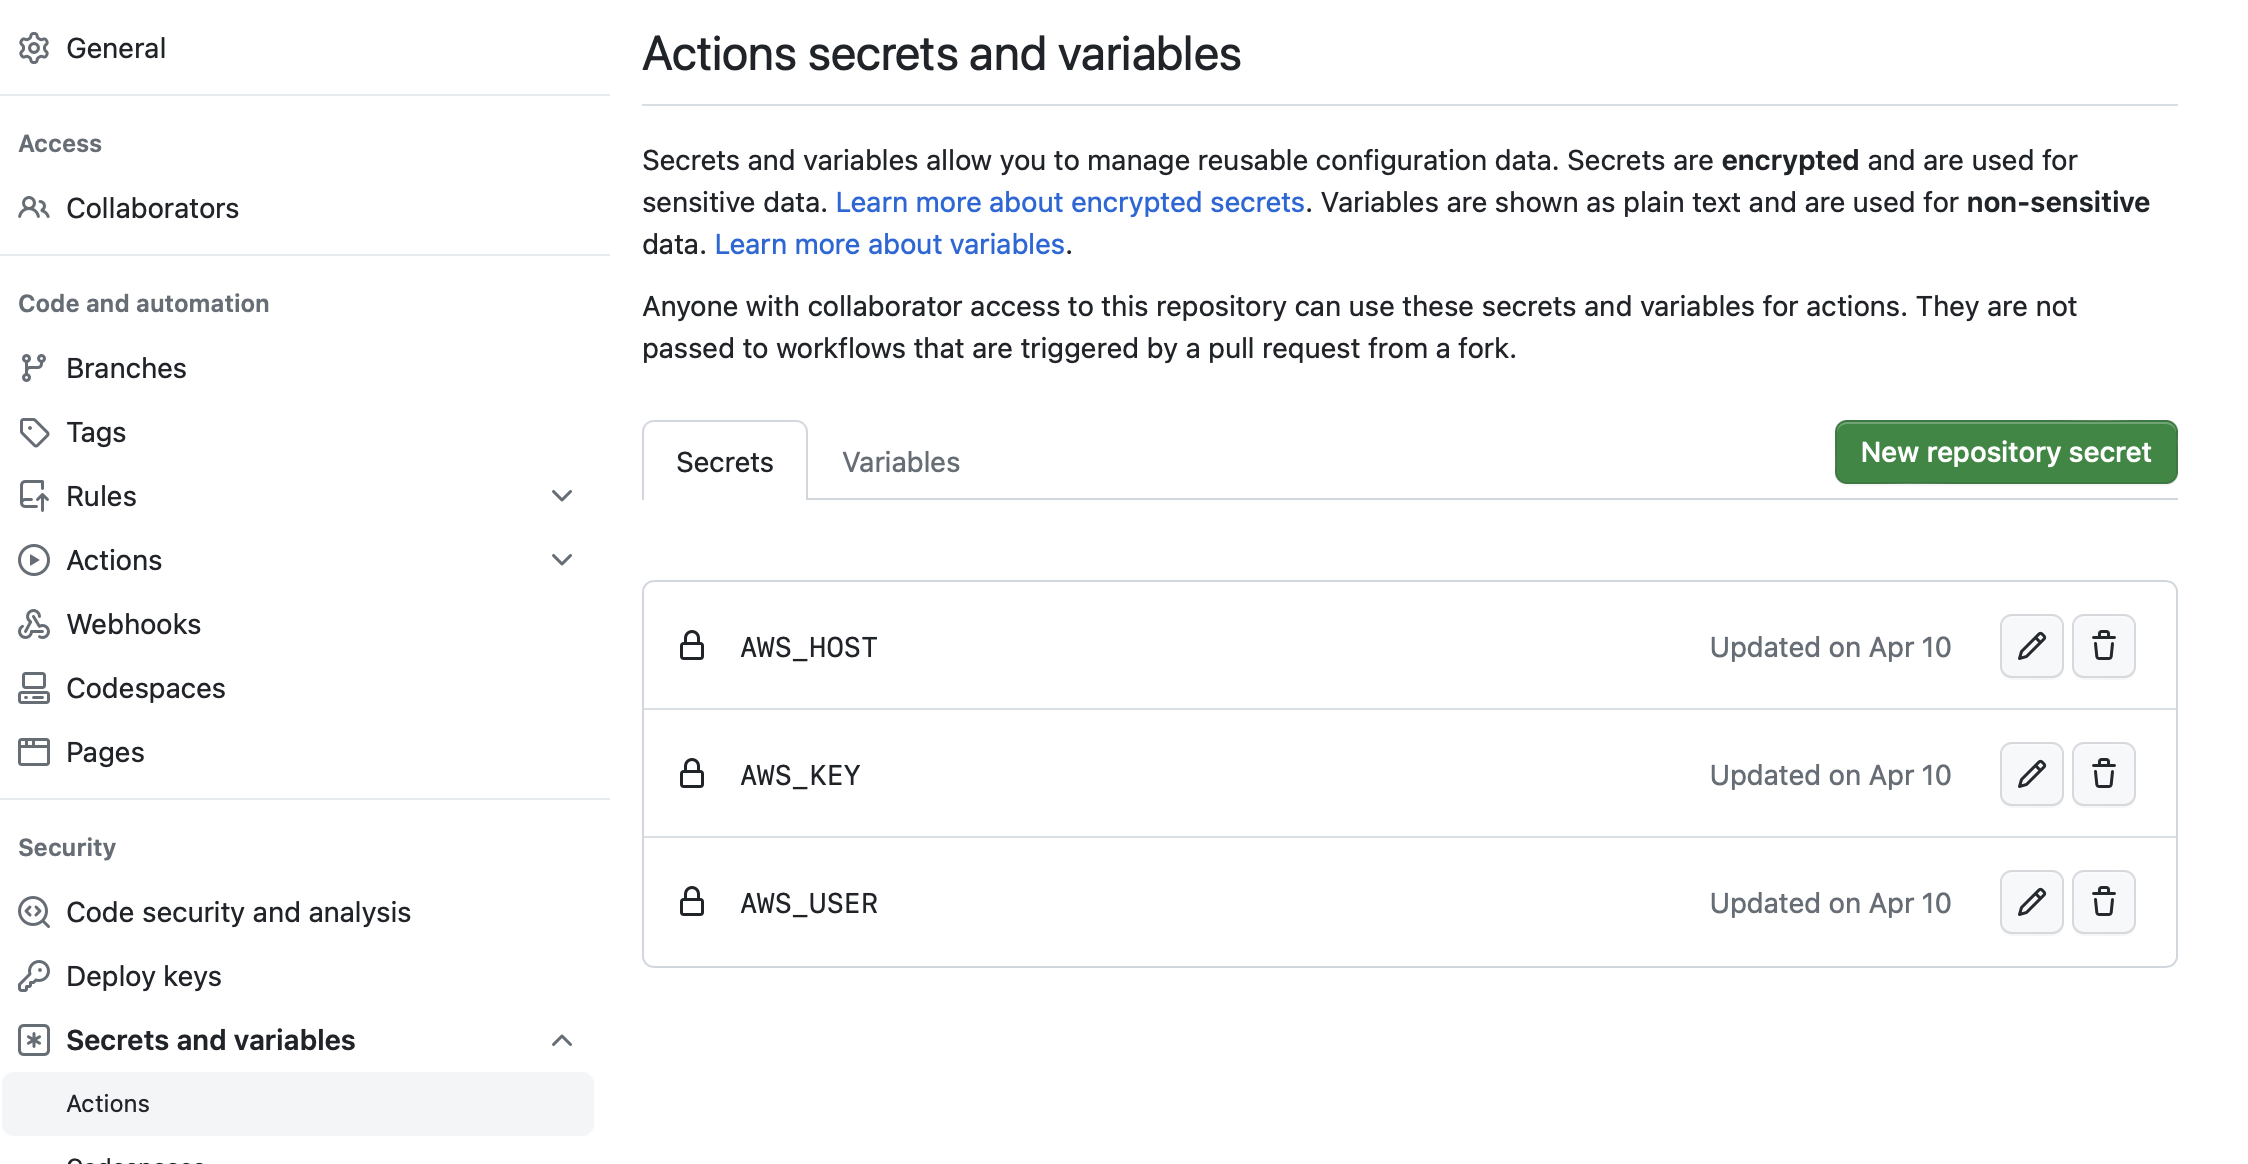
host: ${{ secrets.AWS_HOST }}
username: ${{ secrets.AWS_USER }}
key: ${{ secrets.AWS_KEY }}
script: sh /home/ubuntu/deploy.shThis script references an ssh key to access your new ubuntu server. You can use the one that was created when you initiated the AWS setup, but it may be better to create one separately just for the worker.
Now ssh back into your ubuntu server and pull your code manually once. You then should start it with pm2 the first time, and configure nginx to ensure the server and reverse proxies are working.
In your home folder on your ubuntu server, you'll have to have a script called 'deploy.sh', which contains the following code:
echo "Kill all the running PM2 actions"
sudo pm2 kill

echo "Jump to app folder"
cd /home/ubuntu/v1-api

echo "Update app from Git"
git pull origin main

echo "Install app dependencies"
sudo rm -rf node_modules package-lock.json
sudo npm install

echo "Start"
sudo pm2 start ./bin/www --name v1-api
You'll have to define those secrets in Github. You can find this control panel in your repository settings, under Secrets and Variables.
4. Putting it All Together
Ready? Now simply push your github code into the repository. It should pick up the deploy yaml script, ssh into your server and start the pm2.
And there you have it! You've now successfully used Github Actions & PM2 to create a do-it-yourself continuous integration server!